1
Crop Your Image
Use our free tool — tool.gammaland3d.com — to crop your image with perfectly rounded corners matching your physical magnet. Everything runs securely in your local browser.
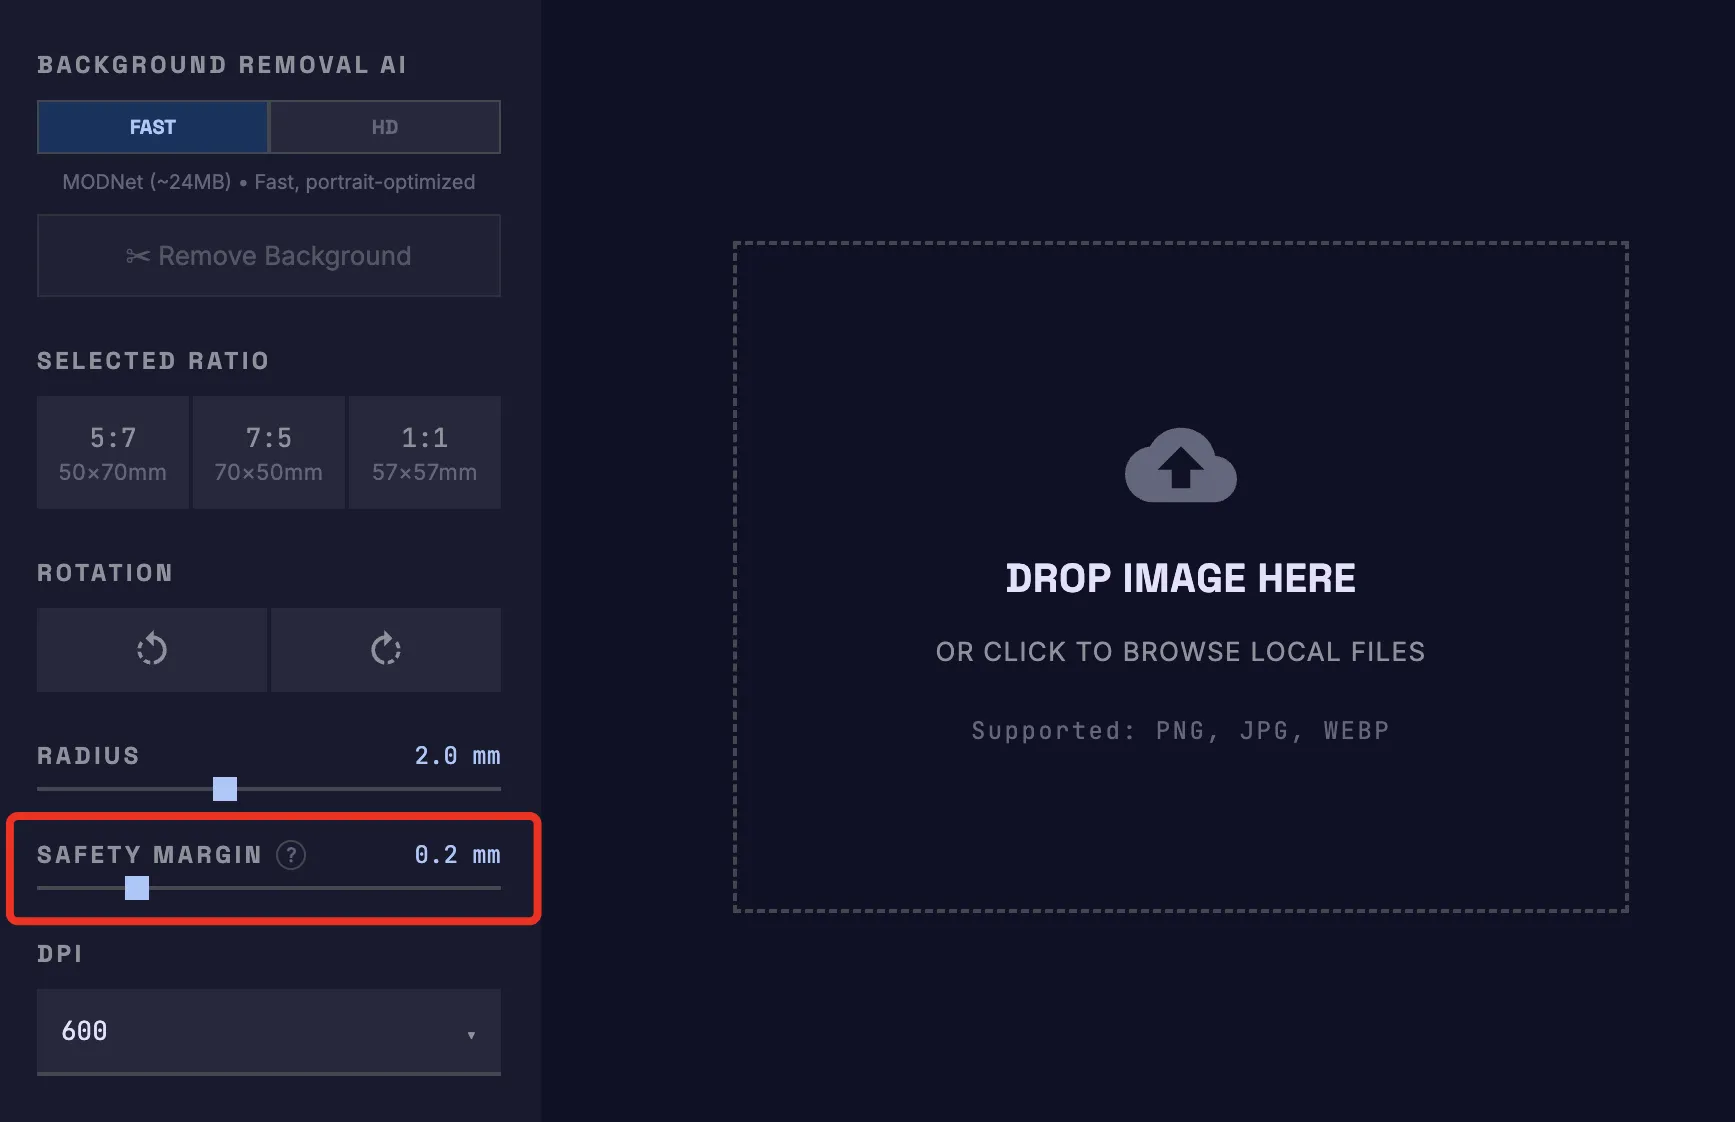
💡 Tip: Set the Safety Margin
To prevent UV ink overspray, adjust the new Safety Margin slider before exporting:
• Light/Colored Edges: Use the default 0.2mm.
• Dark/Black Edges: Increasing to 0.3mm is recommended for a cleaner edge.
To prevent UV ink overspray, adjust the new Safety Margin slider before exporting:
• Light/Colored Edges: Use the default 0.2mm.
• Dark/Black Edges: Increasing to 0.3mm is recommended for a cleaner edge.
2
Import & Configure in EufyMake Studio
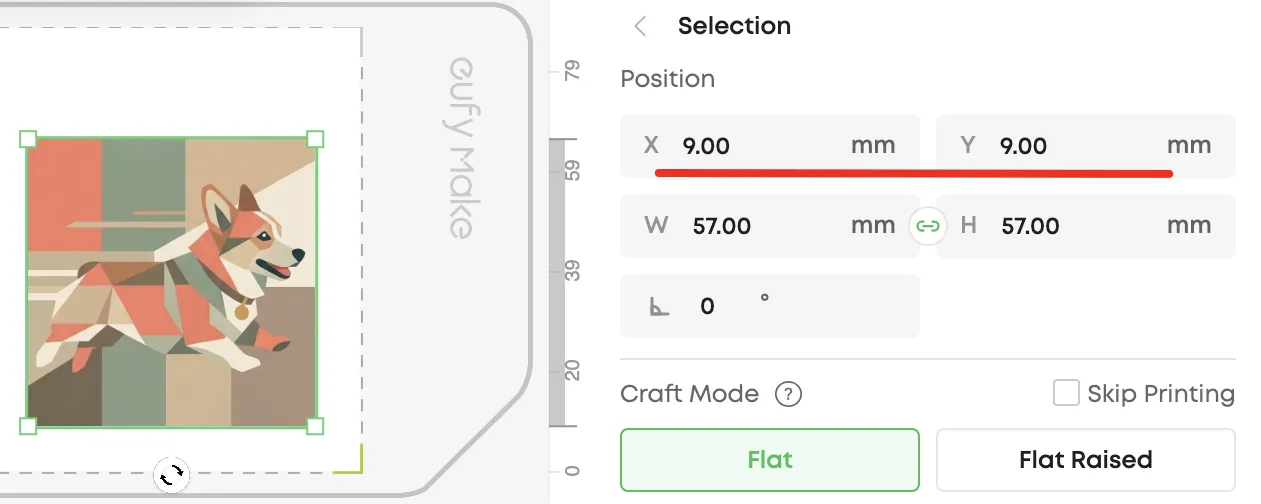
Import your cropped PNG into the software. Click your image to select it, then adjust the essential alignment settings:
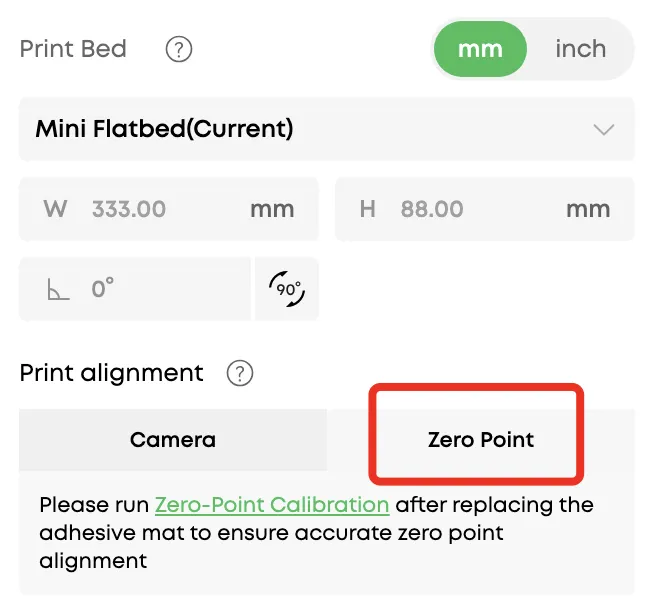
Critical Step: The default is Camera mode — you must switch to Zero Point for the physical jig alignment to work properly.
3
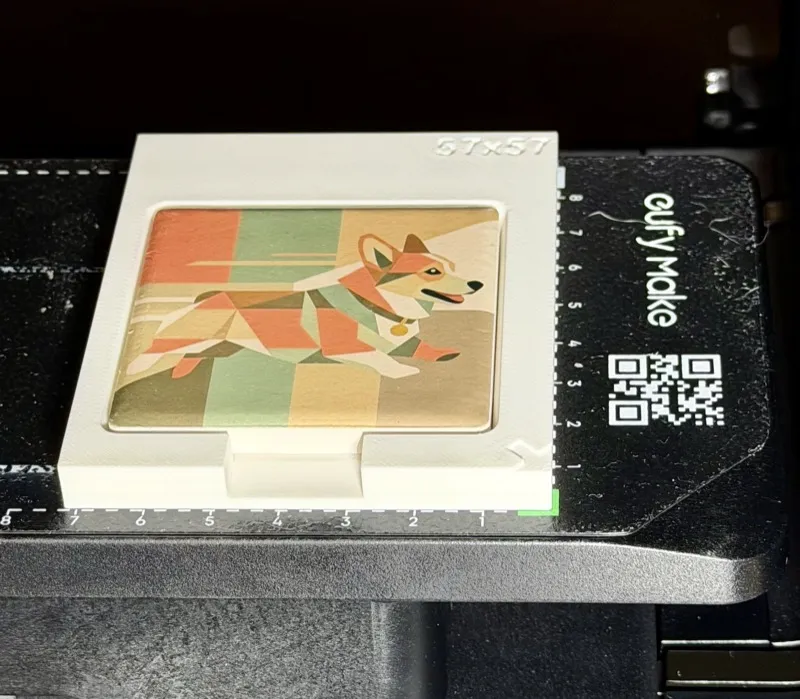
Place Jig on E1
Match the jig's ▶ arrow indicator to the flatbed's green corner (bottom-right). Align the outer edges of the jig precisely with the dashed lines on the flatbed.
4
Load Magnet & Nudge to Fit
Drop the blank ceramic magnet in, then gently nudge it right & down toward the jig's inner right and bottom walls to ensure zero-gap placement.
5
Execute Print
Hit print in EufyMake Studio. The jig provides repeatable, millimeter-perfect alignment, preventing skewed designs and messy edges.